
Download Assets
description
Learn how to color coordinate images in Photoshop! This tutorial shows how to select clothing, sample a desired color, and apply it using a hue blend mode. You’ll also discover the power of “Blend If” to create a stunning two-toned effect, allowing different colors to appear in the highlights and shadows for a cohesive and vibrant look.
Go PRO:
Explore more about color with our PRO tutorial Advanced Color Grading in Lightroom & Adobe Camera RAW . You’ll learn how to perfect your hues, highlight your subjects, and craft unique visual styles.
Share

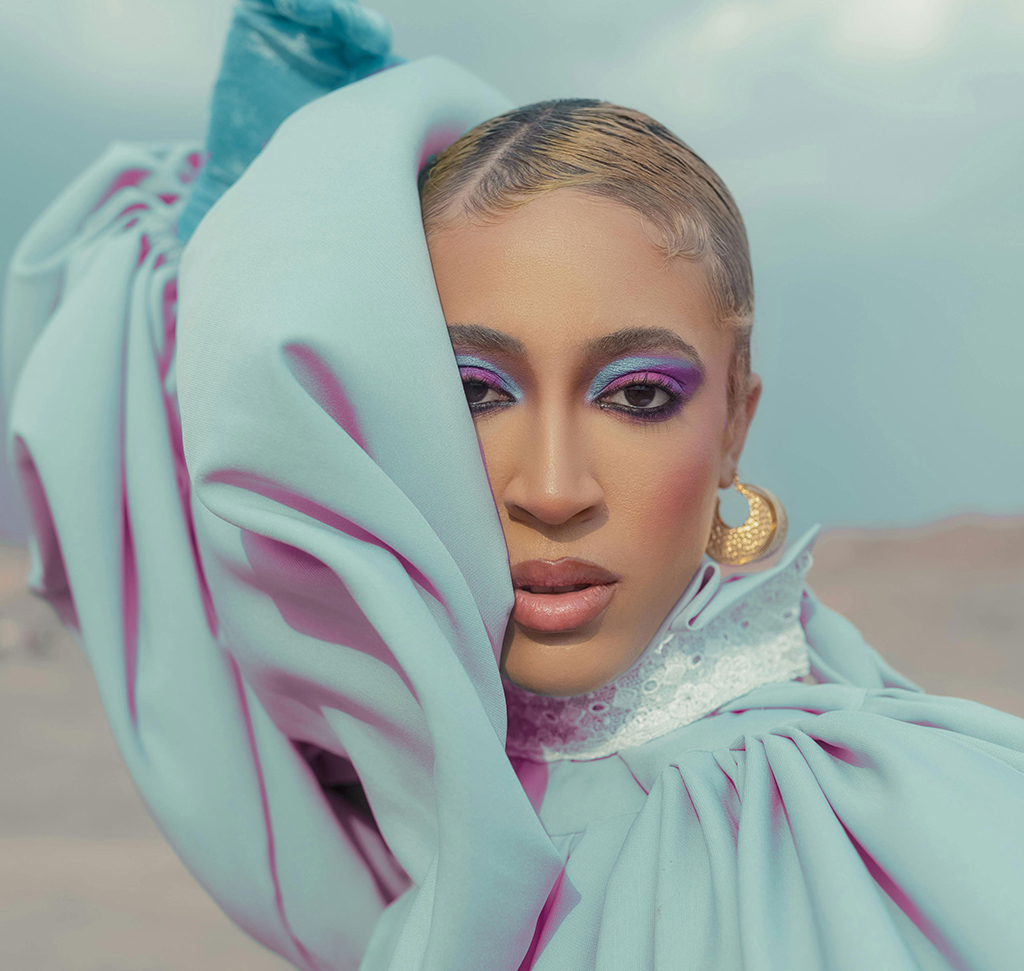
AFTER
BEFORE
Color Your World
Color coordinating images in Photoshop can dramatically enhance your photos’ visual appeal, making them look professionally cohesive and harmonized. We’ll teach you a fun and effective technique to borrow colors from one part of your image and seamlessly apply them to another. Let’s get started!
Select Your Subject
1. First, open your image in Photoshop.
2. Grab the Object Selection tool from the toolbar. You can simply click and drag to select your subject’s clothing. Alternatively, you can use the Select Subject tool.
3. Once selected, refine your selection by holding Alt or Option to subtract areas you don’t want to color (like skin or accessories). For more precise control, use the Selection Brush tool and hold Alt or Option to paint away unwanted sections.

Apply New Color
4. With your selection active, it’s time to sample the desired color. Press B for the Brush tool, then hold Alt/Option to activate the Eyedropper tool.
5. Click on the color you want to use (e.g., the purple eyeliner).
6. Next, create a New Layer.
7. Go to Edit > Fill, and select Foreground Color (which will be your sampled color). Hit OK.
8. Now, deselect by pressing Ctrl/Command + D. Your selected area will now be filled with the new color. No worries, if it doesn’t look quite right yet!

Refine with Blending
9. To seamlessly integrate the new color, change the layer’s Blend Mode. Locate the Blend Mode dropdown (usually set to “Normal”) and change it to Hue. This will apply the new color while preserving the original saturation and highlights/shadows for a more realistic look. If you desire a more uniform vibrancy, you can try “Color” mode, but “Hue” often yields better results.
10. For an advanced touch, double-click in the gray area next to your layer to open Layer Style.
11. Use the Blend If sliders under “Underlying Layer” to fade between the original and new colors, creating a two-toned effect. Hold Alt/Option while dragging a slider to split it, providing a smoother, feathered transition. This allows you to selectively apply the new color to highlights or shadows for dynamic visual effects.

You’re all set! We hope this guide helps you confidently color coordinate your images in Photoshop. Remember, you can always experiment with different colors and “Blend If” settings to discover unique and beautiful effects.


